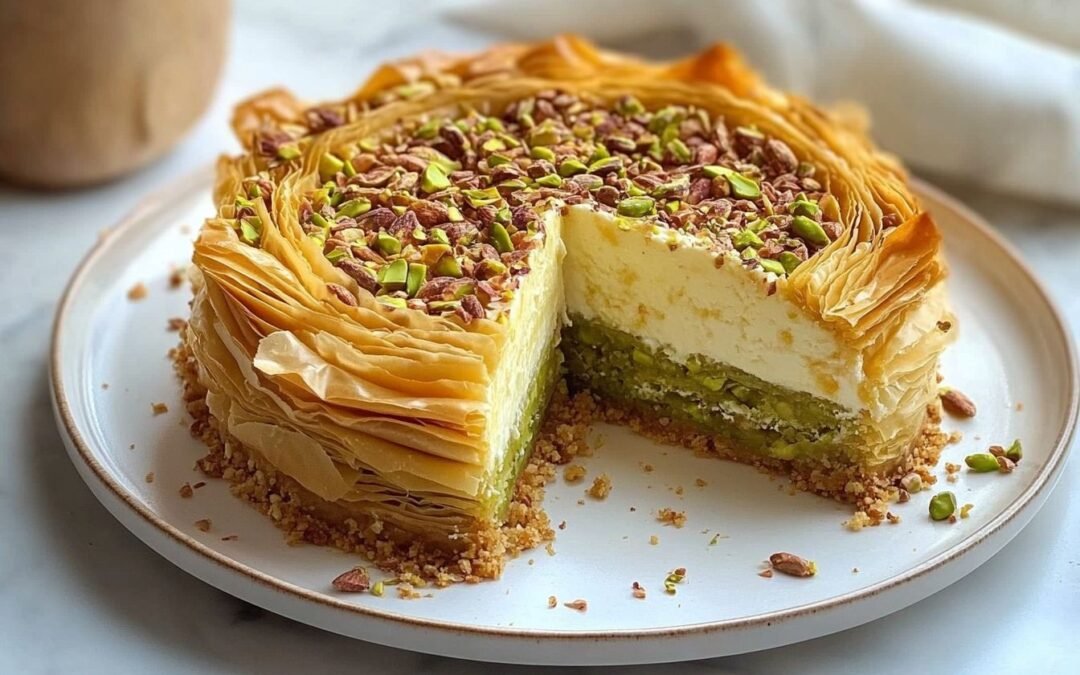
Making kunafa with cream cheese is a delightful and perfect treat for any occasion. This Middle Eastern dessert is a delicious combination of crunchy pastry, sweet syrup, and creamy cheese filling. If you’re looking for a unique dessert to impress your guests, this recipe is worth a try.
To make this delicious dessert, you will need a few key ingredients. For the pastry, you will need kunafa dough, butter, and powdered sugar. You will need cream cheese, sugar, an egg, vanilla essence, and flour. Finally, the topping will need shredded kunafa, butter, sugar, and water. Don’t forget to have some chopped pistachios on hand for garnish.
With these ingredients and a little bit of patience, you’ll be able to create a delicious dessert that will leave your guests wanting more. So, let’s get started and learn how to make kunafa with cream cheese!
Understanding Kunafa
Origins and History
Kunafa is a traditional Middle Eastern dessert that is popular in many countries, including Syria, Lebanon, and Israel. The dish is made with thin, shredded phyllo pastry that is layered with a sweet cheese filling and soaked in sugar syrup. The dish is then baked until the pastry is golden brown and crispy.
The origins of kunafa are not entirely clear, but it is believed to have originated in the city of Nablus in Israel. The dish has been around for centuries and has become a staple dessert in many Middle Eastern countries. Kunafa is often served during weddings and other special occasions, Eid, and other celebrations.
Variations of Kunafa
There are many variations of kunafa, and the cheese filling can vary depending on the region. Some versions use ricotta cheese, while others use a mixture of mozzarella and ricotta cheese. In recent years, cream cheese has become a popular filling for kunafa, adding a creamy texture and tangy flavor to the dish.
Kunafa can also be served in different ways, such as in individual portions or as a large cake that is cut into slices. Some variations of kunafa are topped with chopped nuts, such as pistachios or almonds, while others are sprinkled with cinnamon or powdered sugar.
Ingredients:
- 250g of shredded kunafa
- 1/2 cup of melted butter
- 1/4 cup of powdered sugar
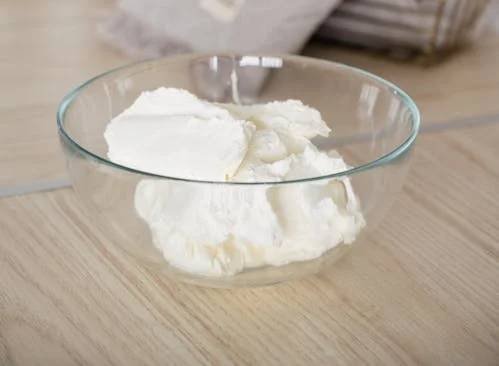
- 225g of cream cheese
- 1/2 cup of sugar
- 1 egg
- 1 tablespoon of plain flour
- 1/2 teaspoon of vanilla essence
- 1/4 cup of butter (for toppings)
- 1/2 cup of shredded kunafa (for toppings)
- 1 cup of sugar (for sugar syrup)
- 1/2 cup of water (for sugar syrup)
How to Make Kunafa with Cream Cheese?
- To make the perfect kunafa with cream cheese, preheat your oven to 180°C for 10 minutes.
- In a bowl, combine shredded kunafa with melted butter and powdered sugar until well mixed. Press the mixture into a greased baking pan and set it aside.
- Next, in a separate bowl, cream together cream cheese, sugar, egg, plain flour, and vanilla essence until well combined.
- Pour the cream cheese mixture over the kunafa layer and spread it evenly. Bake the kunafa with cream cheese for 30-40 minutes until it turns golden brown.
- To prepare the toppings, melt butter and shredded kunafa in a pan until it becomes golden brown and crispy. Once the kunafa with cream cheese is baked, take it out of the oven and top it with the roasted kunafa topping.
- To prepare the sugar syrup, boil sugar and water until the sugar dissolves. Allow the sugar syrup to cool down and then drizzle it over the roasted kunafa topping.
- Finally, let the kunafa with cream cheese cool down and serve it chilled. Enjoy this delicious dessert with your family and friends.
Serving and Storage Tips
When serving kunafa with cream cheese, it’s best to let it cool for a few minutes before cutting into it. This will help the cheese set and prevent it from oozing out when you slice it. You can serve it warm or at room temperature, but it’s best to enjoy it on the same day it’s made for optimal freshness.
If you have leftovers, store them in an airtight container in the refrigerator for up to 3 days. To reheat, place a slice in the microwave for 10-15 seconds or in a preheated oven at 350°F for 5-10 minutes. Don’t heat it too much or the cheese will dry out and the pastry will get soggy.
If you want to make kunafa in advance, you can prepare the pastry and cheese filling separately and assemble them just before serving. Keep the pastry in an airtight container at room temperature for up to 2 days or freeze it for up to 1 month. Thaw it in the refrigerator before using it.
When it comes to serving, you can garnish the kunafa with chopped pistachios, drizzle it with syrup, or serve it with a scoop of ice cream for a decadent dessert. Get creative and experiment with different toppings to find your favorite combination!
Conclusion
Now you know how to make kunafa with cream cheese. Making it is a fun and delicious way to enjoy this popular Middle Eastern dessert. By following the steps outlined in this article, you can create a dessert that is sure to impress your family and friends.
One of the great things about making this kunafa is that it is a versatile dessert that can be customized to suit your tastes. You can experiment with different types of cheese, such as ricotta or mozzarella, or add your favorite toppings, such as nuts or fruit.
It’s important to remember that making kunafa requires patience and attention to detail. Take your time when preparing the dough and make sure that you spread the cheese mixture evenly over the top. By doing so, you will ensure that your kunafa turns out perfectly every time.
Overall, making kunafa with cream cheese is a fun and rewarding experience that anyone can enjoy. Whether you are a seasoned baker or a novice in the kitchen, this dessert will be a hit with everyone who tries it. So why not give it a try today and see for yourself how delicious it can be?
Just before you go, did you know that this kunafa can be a perfect dessert after having moussaka with feta cheese?
Get the recipe now (by clicking the image below):