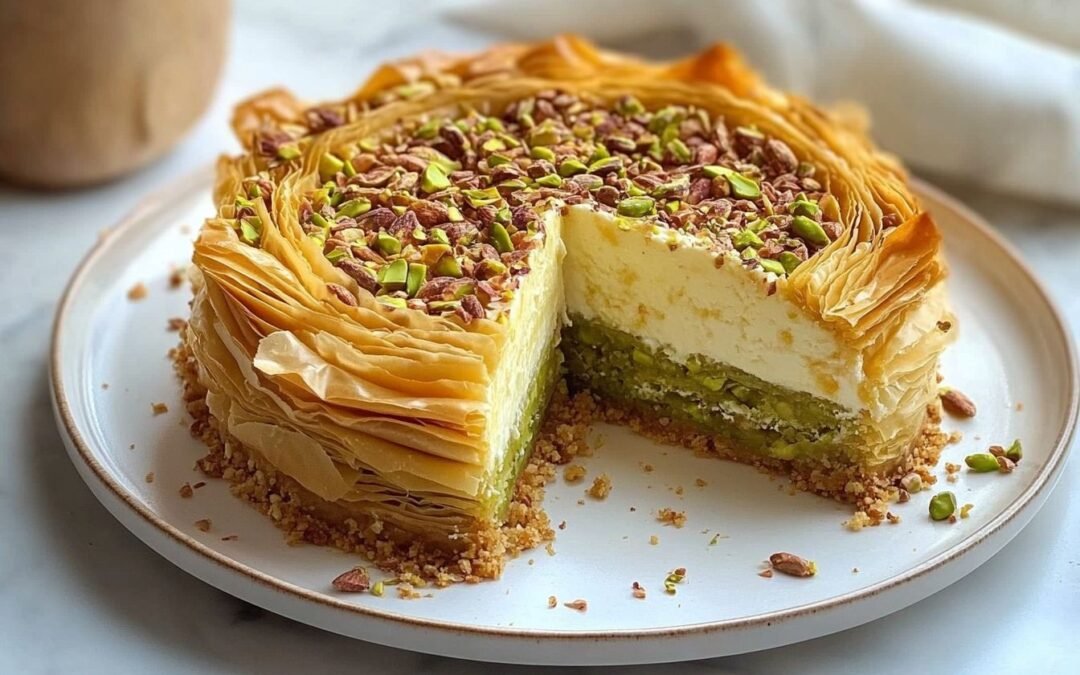
I love making kunafa with vermicelli. It’s a classic Middle Eastern dessert that’s perfect for any occasion. Whether you’re hosting a dinner party or just want to indulge in a sweet treat, kunafa is sure to satisfy your cravings. Here, I’ll be sharing my step-by-step process for making kunafa with vermicelli, so you can enjoy this delicious dessert in your home.
To make kunafa with vermicelli, you’ll need a few key ingredients. You’ll need sugar, water, lemon juice, saffron essence (optional), vermicelli, unsalted butter, yellow food color, ricotta cheese or khoya, mozzarella cheese, and chopped pistachios. These ingredients may seem intimidating, but don’t worry! I’ll explain how to use them to create a delicious kunafa that will impress your friends and family. So, let’s get started!
Understanding Kunafa
This version of kunafa is a Middle Eastern dessert that is made with vermicelli pastry, cheese, and syrup. It is a sweet and savory dish that is popular in many countries, including Lebanon, Syria, Egypt, and Turkey. In this section, I will provide some background information on kunafa, including its history and the different types of kunafa.
History of Kunafa
Kunafa has a long and rich history that dates back to the Ottoman Empire. It is believed that the dish was first created in the city of Nablus in Israel. The original version of kunafa was made with shredded phyllo dough, but over time, vermicelli pastry became the preferred ingredient.
Today, kunafa is a popular dessert that is enjoyed by people all over the world. It is often served during special occasions, such as weddings and religious festivals.
Types of Kunafa
- Cheese Kunafa: This is the most common type of kunafa and is made with a layer of cheese sandwiched between two layers of vermicelli pastry. It is then soaked in syrup and baked until golden brown.
- Cream Kunafa: This type of kunafa is made with a layer of cream instead of cheese. It is often topped with pistachios or other nuts.
- Chocolate Kunafa: This is a modern twist on the traditional kunafa and is made with a layer of chocolate instead of cheese or cream.
Ingredients:
- 1 cup of sugar
- 1 cup of water
- ½ tsp of lemon juice
- ¼ tsp of saffron essence (optional)
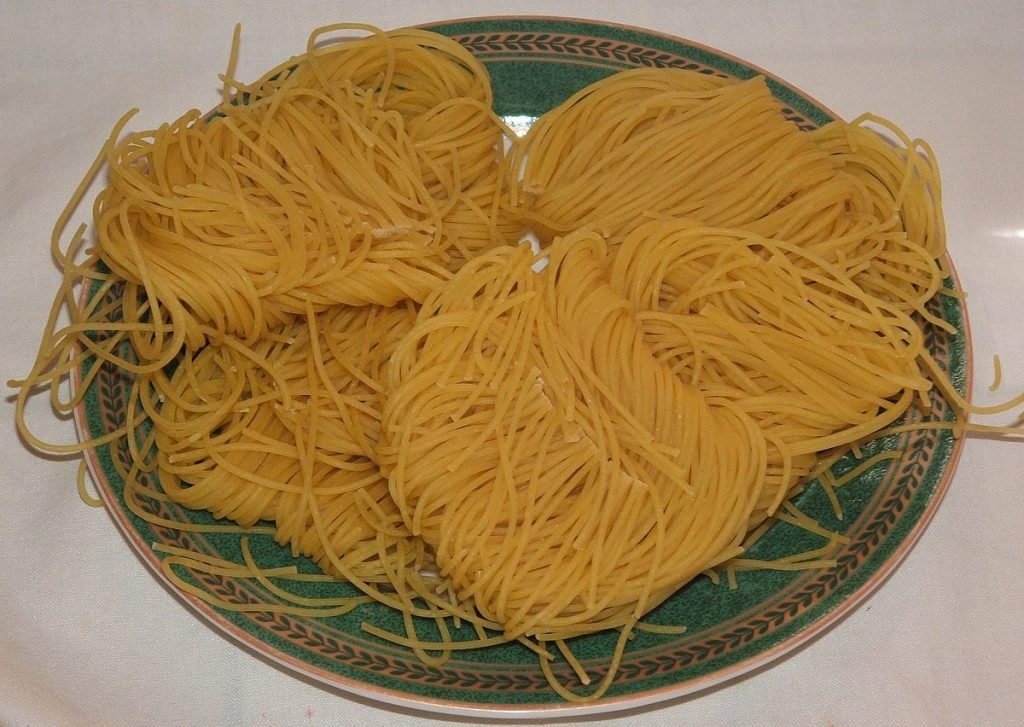
- 2 packets (300 gms) of vermicelli
- 4-5 tablespoons of unsalted butter
- ¼ teaspoon of yellow food color
- 1 & ½ cups of ricotta cheese or khoya
- ¾ cup of grated mozzarella cheese or as required
- Chopped pistachios
How to make kunafa with vermicelli?
Making the syrup:
- Add sugar and water to a saucepan and cook until the sugar is dissolved.
- Then, add saffron essence and lemon juice and mix well.
- Cook the mixture until it thickens and set it aside.
Preparing the kunafa
- Preheat your oven to 180 C.
- In a bowl, add the vermicelli while crushing it well.
- Add butter and mix it properly. Take out half of the butter-coated vermicelli and reserve it for later use.
- Then, add yellow food color to the remaining vermicelli and mix well before setting it aside.
- Add the colored-coated vermicelli to a baking pan and spread it evenly.
- Next, add ricotta cheese or khoya and crumble it with your hands before spreading it evenly.
- Add mozzarella cheese and spread it, losing the edges.
- Finally, add a layer of the reserved butter-coated vermicelli.
- Bake the kunafa in the oven for approx. 20-25 minutes. Once baked, generously pour the warm sugar syrup over the kunafa and top it off with some pistachios for garnish.
Serving the Kunafa
Cutting and Plating
Once the kunafa is cooked and cooled, it’s time to cut and plate it. I recommend using a sharp knife or a pizza cutter to cut the kunafa into equal-sized pieces. You can cut it into squares or diamonds, depending on your preference.
To plate the kunafa, use a spatula to carefully transfer the pieces onto individual plates or a large platter. Make sure to handle the kunafa gently, as it can be delicate and break apart easily.
Garnishing Tips
Garnish the kunafa with some toppings to add extra flavor and visual appeal. I like to sprinkle some chopped pistachios or almonds on top, as well as a dusting of powdered sugar. You can also drizzle some honey or syrup over the top for added sweetness.
Another popular garnish for kunafa is a dollop of whipped cream or a scoop of ice cream. This adds a creamy and cool contrast to the warm and crispy kunafa.
Remember, presentation is key when serving kunafa. Take time to arrange the pieces neatly on the plate and strategically add your garnishes for a beautiful and delicious dessert.
Storing and Reheating
Storage Recommendations
Once the kunafa is cooked and cooled down, it can be stored in an airtight container in the refrigerator for up to 3 days. To prevent the kunafa from drying out, it’s recommended to cover it with a damp paper towel before placing it in the container.
If you plan on storing the kunafa for a longer period, it’s best to freeze it. To do so, wrap the kunafa tightly in plastic wrap and then place it in a freezer-safe container. It can be stored in the freezer for up to 1 month. Before serving, allow the kunafa to thaw in the refrigerator overnight.
Reheating Instructions
To reheat the kunafa, preheat the oven to 350°F (175°C). Remove the kunafa from the container and place it on a baking sheet. Cover the kunafa with aluminum foil to prevent it from drying out.
Bake the kunafa for 10-15 minutes or until it’s heated through. Remove the aluminum foil and continue baking for an additional 5-10 minutes or until the top is golden brown and crispy.
You can also warm up single pieces of kunafa in the microwave. Just put a slice on a plate that’s safe for the microwave and cover it with a damp paper towel. Heat it on high for 20-30 seconds until it’s warm all the way through.
Remember to check the temperature of the kunafa before serving to ensure it’s hot all the way through. Enjoy!
Conclusion
I hope this article delivered how to make kunafa with vermicelli. Making this dish is a simple yet delicious dessert that can impress your guests. With a few key ingredients and some patience, you can create a crispy, cheesy, and sweet dessert that everyone will love.
Throughout this article, I have shared with you the step-by-step process of making it. From preparing the syrup to assembling the kunafa, each step is important in achieving the perfect dessert.
One important thing to keep in mind is to be patient. Kunafa with vermicelli requires some time and effort, but the result is worth it. So, take your time and enjoy the process. Good luck!
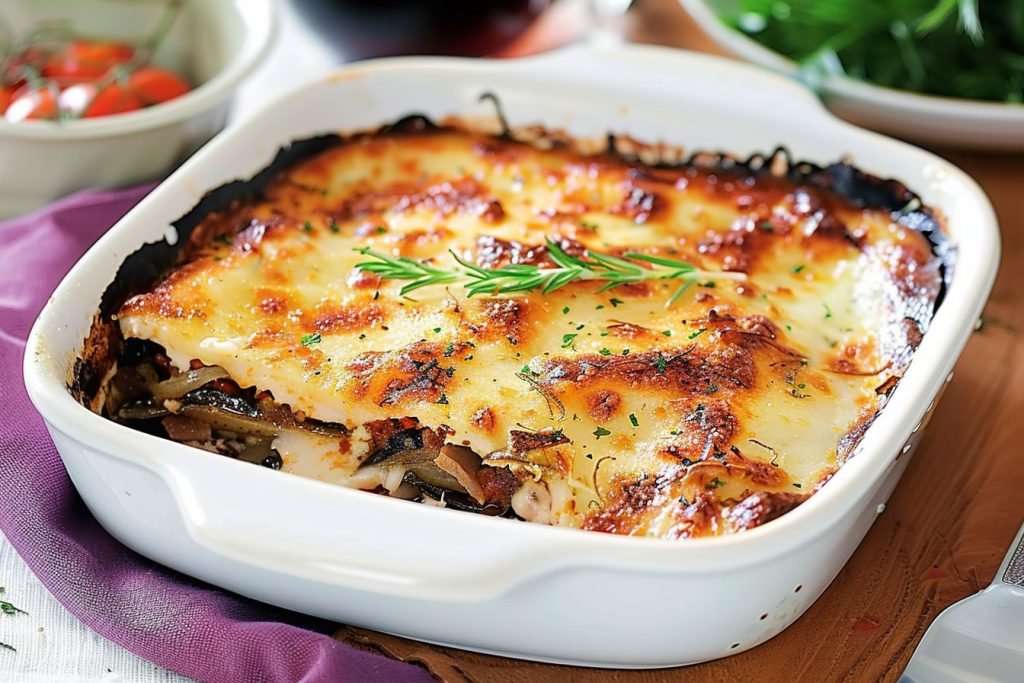
By the way, this is a great dessert after having moussaka with chicken.
Get the recipe now (by clicking the image below):