If you love bread with a Mediterranean twist, try zaatar focaccia for a great choice. This flavorful bread combines the herby, tangy taste of zaatar seasoning with the soft, fluffy texture of focaccia, making it perfect for breakfast, snacks, or as an accompaniment to dips like hummus and feta.
To make it, you’ll need simple ingredients like yeast, cool and hot water, flour, salt, olive oil, zaatar seasoning, and flaky salt for finishing. The process is straightforward enough for beginner bakers, especially since this recipe doesn’t require kneading, making it both accessible and rewarding.
I like how this focaccia delivers so much flavor with just a few ingredients. It’s a versatile bread that you can enjoy fresh or transform into croutons or stuffing later on, adding a unique Middle Eastern flair to everyday meals.
What Is Zaatar Focaccia?
This is a type of bread that combines the fluffy, chewy texture of traditional focaccia with the unique flavors of zaatar. This Middle Eastern spice blend typically includes wild thyme, sumac, and sesame seeds. The combination creates a bread that tastes both fresh and earthy.
I love how simple this bread is to make. The dough often requires little or no kneading, which saves time and effort. After baking, the focaccia gets brushed with olive oil and sprinkled generously with zaatar, giving it a fragrant, slightly tangy finish.
It works well as a snack or as part of a meal. You can enjoy it plain with olive oil for dipping, or slice it horizontally to make sandwiches filled with veggies or cheese. Its versatility makes it perfect for sharing or serving alongside dips like tahini.
Ingredients
- 2 tsp of dry active yeast
- 1 ½ cups of cool water
- ¾ cup of hot water
- 2 cups of all-purpose flour
- 2 ½ cups of bread flour substituted with all-purpose flour
- 1 ½ tbsp of salt
- ½ cups of olive oil (more for greasing)
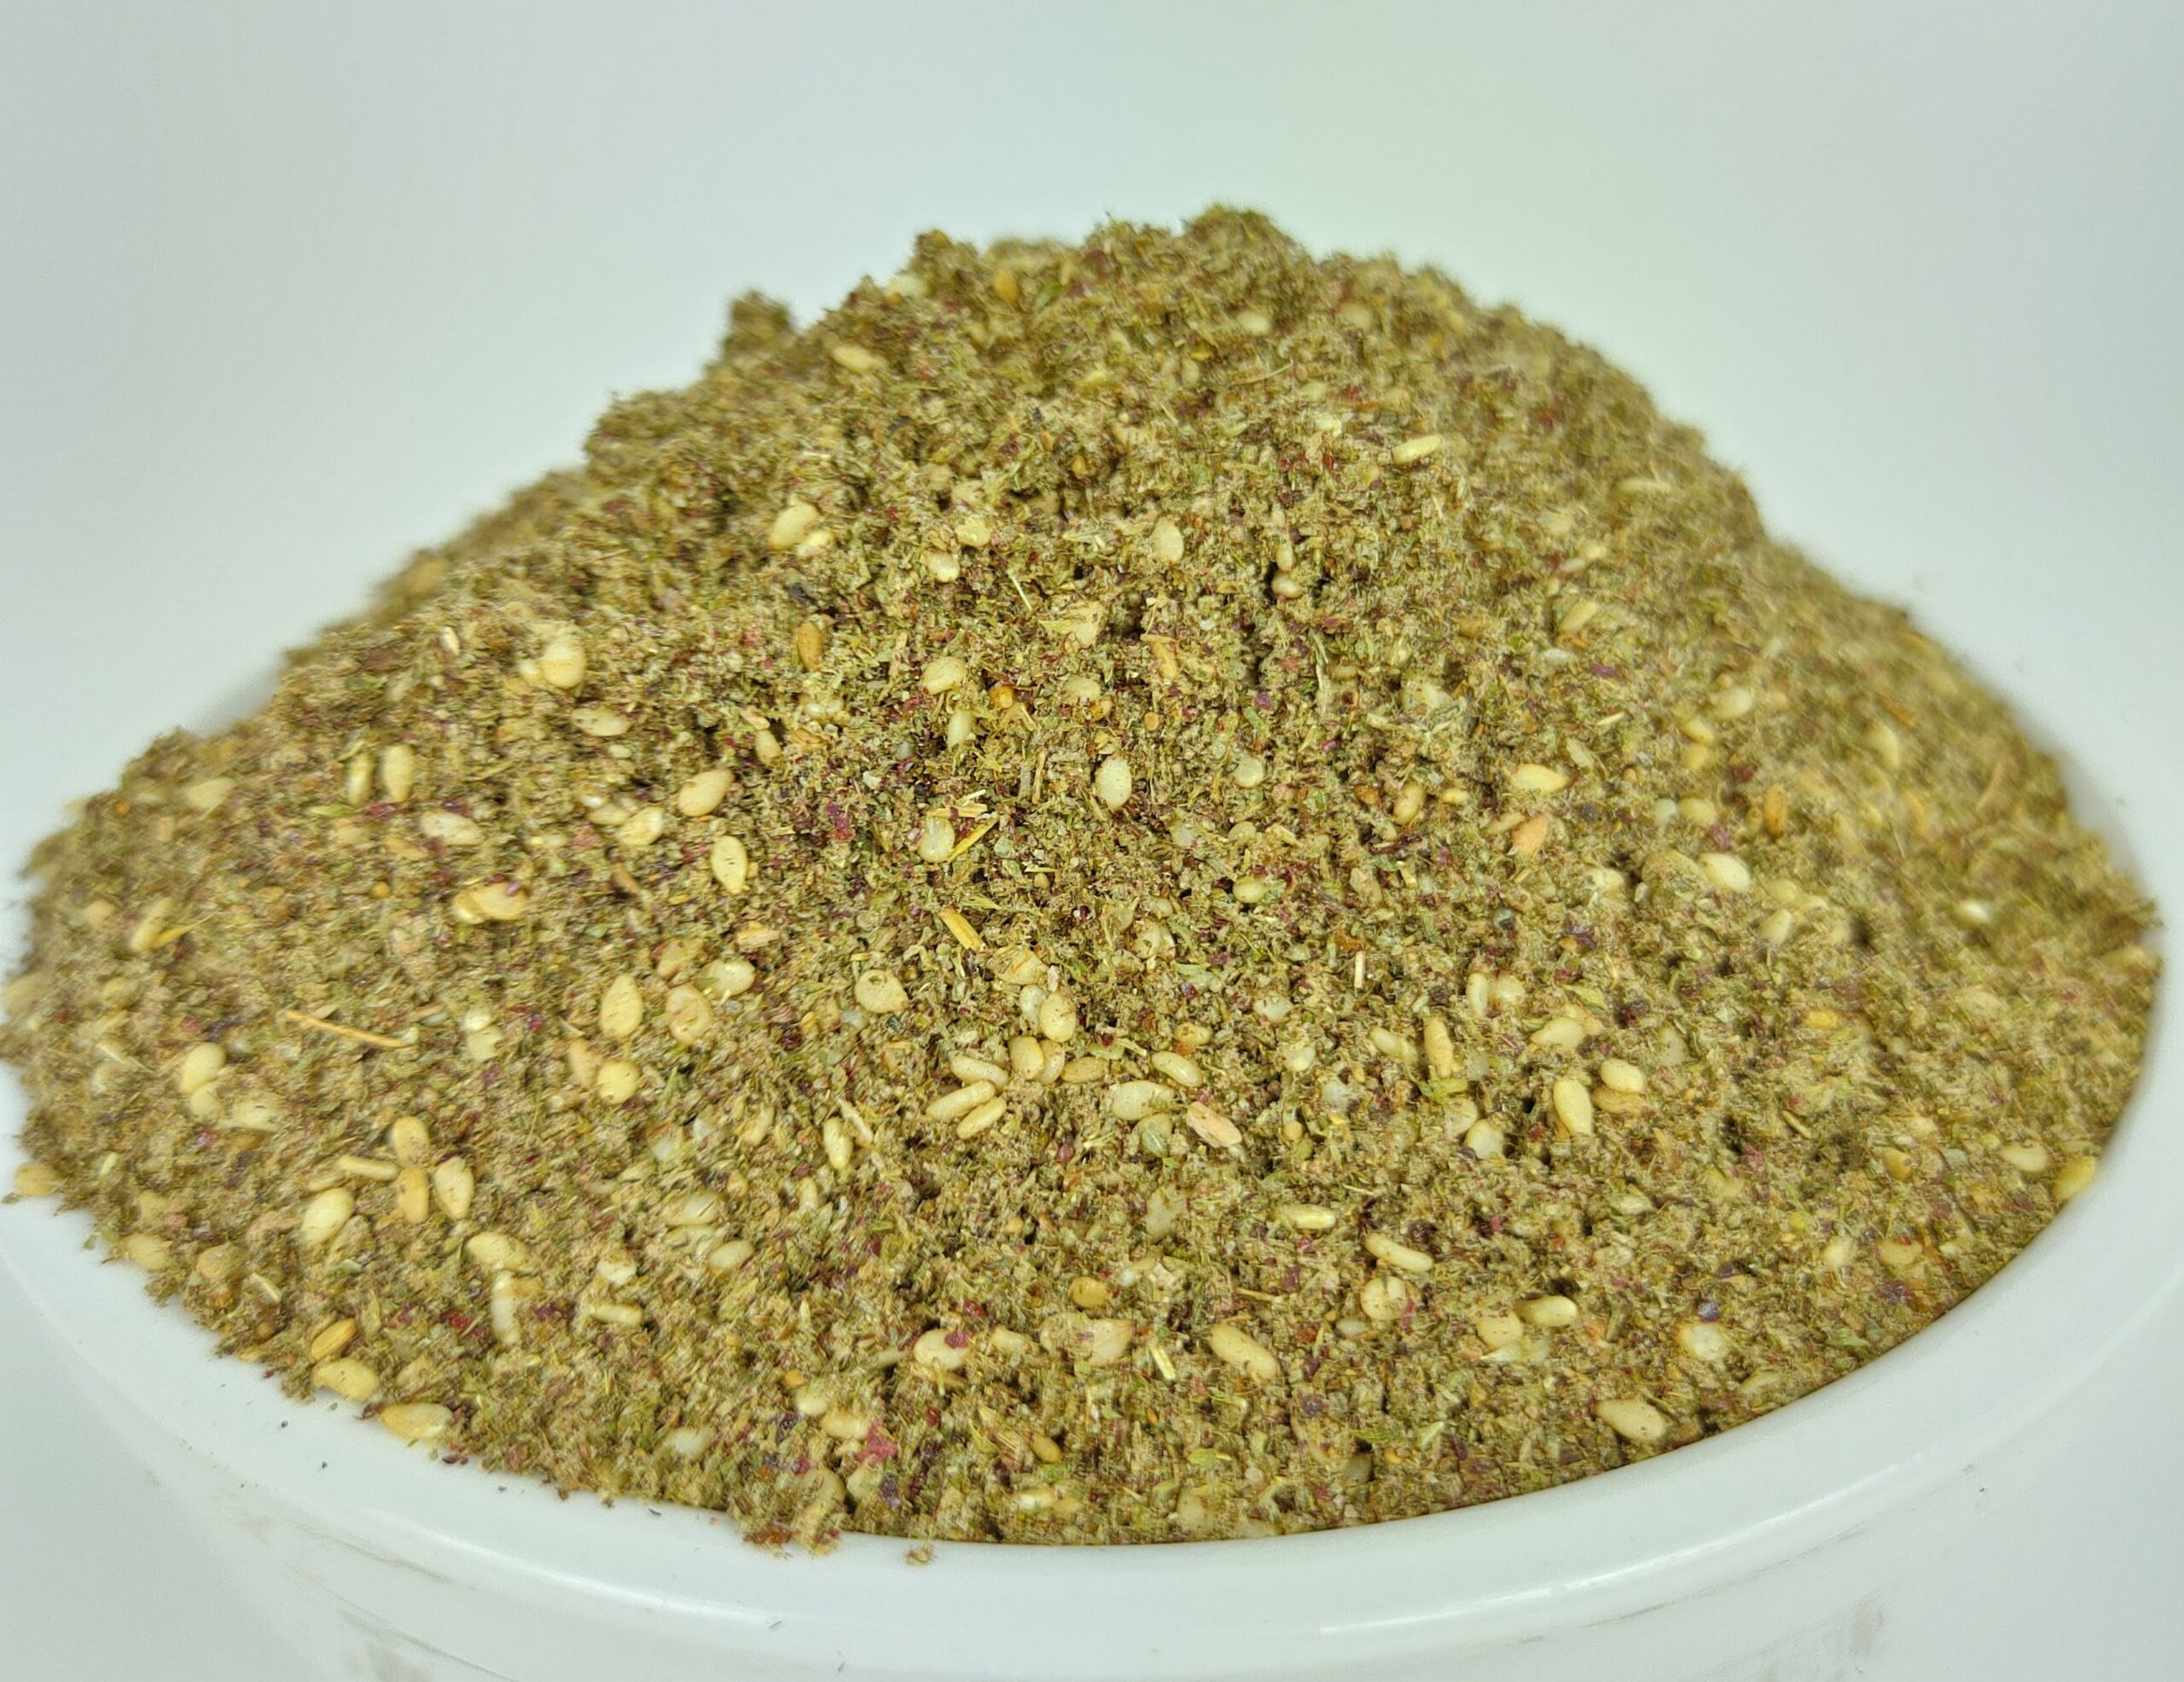
- 1-2 tbsp of zaatar seasoning
- flaky salt to taste
How To Make Zaatar Focaccia?
- First, heat some water until it’s very hot but not boiling. Then mix it with cooler water to make it lukewarm – about the temperature you’d use for bath water.
- Check your yeast to make sure it’s fresh. Then whisk the yeast into the lukewarm water until it looks cloudy with bubbles. After letting it sit for about 5 minutes, stir in the flour and salt until the dough looks rough but no dry streaks remain.
- Next, pour olive oil into a big bowl and rub it around well. Place the dough in and turn it so every part gets coated with oil. Cover the bowl and leave it on the counter for 4 hours until the dough doubles in size.
- When the dough is ready, gently pull the edges toward the center using your fingers to make a ball. Oil a baking pan and place the dough on it. Then, pop it into the oven turned off but warm for 1.5 to 2 hours to rise again.
- After the dough puffs up, press a finger into it to check if it slowly springs back. Then, heat the oven to 440°F. Press my fingers all over the dough, drizzle with olive oil, sprinkle zaatar and flaky salt on top, and bake for about 20 minutes until golden brown.
- Finally, let it cool a bit before slicing and enjoying.
Nutritional Information

Tips for Achieving Perfect Texture
Secrets for a Fluffy Interior
I start with a higher hydration dough—around 70-75% water to flour ratio. This helps keep the crumb open and airy. Using a preferment like poolish or biga also improves gluten development, making the inside light without being dense.
Letting the dough rest for a longer bulk fermentation at room temperature helps flavor and texture. I press the dough gently into the pan without deflating the bubbles that have formed. This preserves the fluffiness in every bite.
Using no-knead or minimal kneading techniques can improve tenderness. The zaatar topping doesn’t weigh down the crumb when it’s applied right before baking, so it stays fluffy and soft inside.
How to Get a Crispy Crust
I use a hot oven, usually around 440°F-450°F (225°C-230°C), to get a quick crust set without drying out the whole bread. Baking on a preheated baking stone or steel helps with even heat distribution and boosts crispiness.
Drizzling quality olive oil generously over the dough before baking creates a golden, crackly crust. I also add toppings like zaatar right before putting the dough in the oven, which lightly toasts them and adds texture without sogginess.
A final spray or mist of water into the oven at the start of baking creates steam. This helps the crust form a slight crunch before the crumb finishes cooking, locking in moisture below.
Serving Suggestions and Pairings
I love serving it as an appetizer with a simple dip of olive oil and balsamic vinegar. The herbal and slightly tangy flavor pairs perfectly with the bread’s crisp crust and soft interior.
You can also slice it horizontally to make a sandwich. I often fill mine with fresh vegetables, vegan feta cheese, and a drizzle of tahini for a Middle Eastern twist.
For a casual meal, I serve it alongside a green salad and coleslaw. These light sides balance the robust, savory herbal flavors in the bread.
Cheese lovers might enjoy this focaccia topped with melted mozzarella or provolone. It adds creaminess and richness to every bite.
Try pairing with soups, pasta dishes, or grilled vegetables. Its versatility makes it an easy addition to many meals.
Storing and Reheating
I like to store my focaccia at room temperature when I plan to eat it within two days. I wrap it tightly in plastic wrap or parchment paper, then place it in an airtight bag. This keeps it soft and flavorful without drying out.
If I want to keep it longer, I freeze the focaccia. I wrap it tightly and seal it well before putting it in the freezer. When ready to eat, I either thaw it overnight in the fridge or leave it on the counter for a few hours.
To reheat, I prefer using a toaster oven or a regular oven. I heat it gently at around 350°F (175°C) for 5 to 10 minutes. This method crisps up the top while keeping the inside soft and delicious.
If you reheat focaccia directly from frozen, allowing it to thaw first usually gives a better texture. Avoid microwaving if possible, as it can make the bread chewy or soggy.
Conclusion
I find zaatar focaccia a wonderful flatbread that adds a flavorful twist to any meal. The blend of zaatar spices with olive oil creates a unique aroma and taste that feels both comforting and vibrant.
This bread works well on its own or as a side with dips like hummus, baba ganoush, or fresh salads. I also like using leftover focaccia to make croutons or a savory stuffing.
Zaatar focaccia feels approachable for bakers at all levels, and its versatility makes it a regular in my kitchen rotation. It’s a small way to bring a taste of the Middle East right to your table.
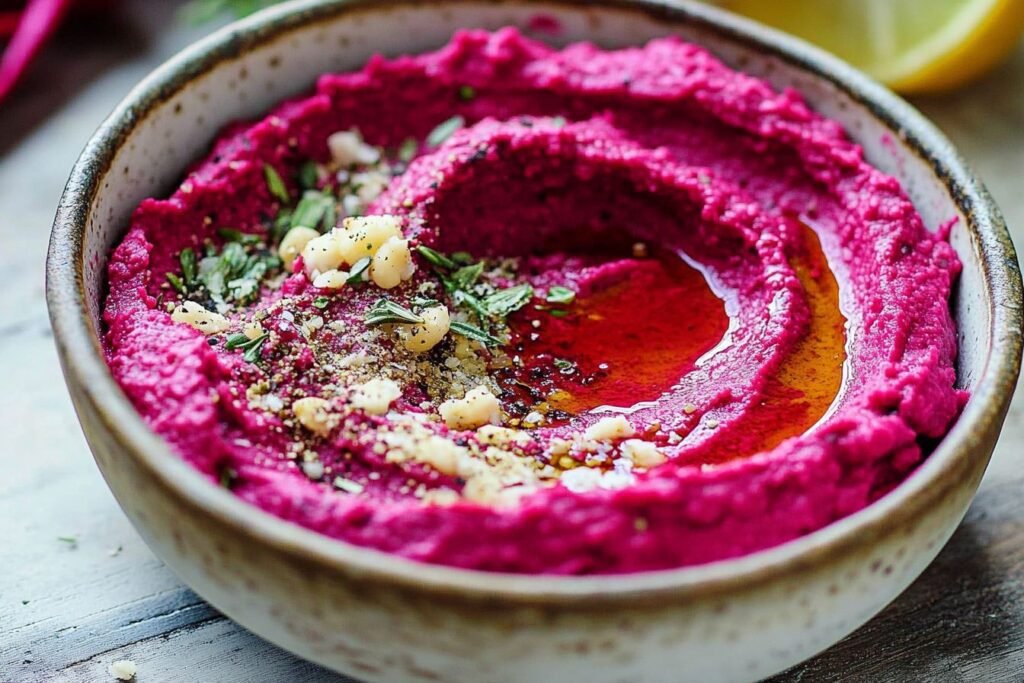
Here is an idea: Pair this focaccia with beetroot hummus.
Interested? Get that recipe now (by clicking the image below):